
Are you tired of dealing with unwanted reflections, echoes, and poor sound quality in your home studio?
In this step-by-step DIY Acoustic Panel Tutorial, I’ll show you how to transform your recording space without breaking the bank!
Acoustic treatment plays a crucial role in achieving professional sound quality in your home recording studio. And the best part...
You can easily create your own high-quality acoustic panels at a fraction of the cost of store-bought options!
►►I'm talking like, 90% off! That could be thousands back in your pocket!!
In this video, I’ll guide you through the entire process, from selecting the materials and tools you'll need, to constructing your very own acoustic panels.
You'll learn how to:
► Cut and assemble the frame for your panels.
► Choose the right insulation material for optimal sound absorption.
► Wrap your panels for a clean and professional finish.
► Install mounting hardware for easy wall hanging.
By the end of this tutorial, you'll have the knowledge and skills to enhance the acoustics of your home studio, ensuring your recordings and mixes sound better than ever before.
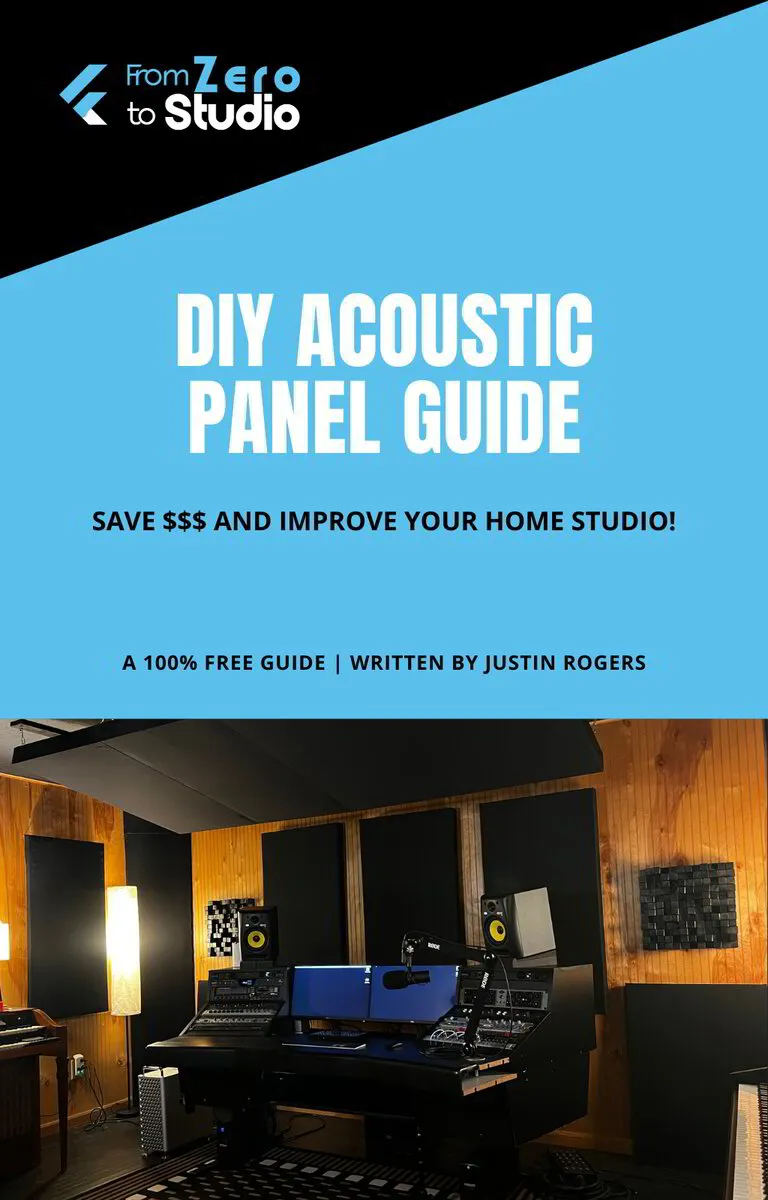
Plus, don't forget to grab your FREE DIY Acoustic Panel Guide by clicking here!
This step-by-step guide will teach you how to create custom acoustic panels and optimize your home studio environment cost-effectively.
If you're passionate about music production, audio recording, or simply want to upgrade your home studio setup, this video is a must-watch!
My Products
► Massive Drops - 240 Different Sub Hit And Sub Drop Samples
► Ocean Banjo - Virtual Banjo Instrument. Real Recorded Banjo Right At Your Fingertips
► Ocean Banjo Patterns - Virtual Banjo Patterns At The Click Of A Button
By purchasing one of my virtual instruments or sample packs, you will help to support From Zero To Studio so I can continue providing you with valuable content.
My Favorite Tools
► Easy Funnels - A Website and Funnel Builder for Recording Studios
► Distrokid - Music Distribution For Musicians
► Backblaze - Unlimited Data Backup for only $7/month
Some of these links above are affiliate links where I earn a very small commission at no additional cost to you. You have no obligation to purchase through these links, but it does help to support From Zero To Studio so I can continue providing you with valuable content.
Automatic Video Transcript
Hey everybody, Justin here with From Zero To Studio and today I'm going to teach you how to build your own acoustic panels.
Acoustic treatment helps to shape and control the sound of an environment and it plays a vital role in any recording or mix room. To treat an entire room it can set you back thousands of dollars, but the good news is you can easily build your own acoustic panels at a fraction of the cost.
I'm talking like 90 percent off, that's full on clearance mode. So in today's video, we're going to build an acoustic panel from start to finish, and then you can actually download my free DIY Acoustic Panel Guide. This guide walks you through the entire process step by step, and it'll help you to improve your home studio space while saving you money.
Just go to FromZeroToStudio.com/DIY, or click the link below in the description, and you can download the guide there. All right, let's get building.
The acoustic panel we're building is two feet by four feet and four inches deep, and we're using 1x4 boards for the framing. Just a quick side note that a modern 1x4 is actually 3/4" by 3 1/2". So we'll have two 48 inch boards for the sides, and two 24 inch boards for the top and bottom.
The top and bottom boards will mount between the side boards, so the true outer dimensions of the panel will be 48" x 25 1/2". Here are the tools you're going to need for this project. You're going to need a tape measure, a pencil or pen, a saw, a drill with drill bits and driver set, a razor blade, a staple gun, a screwdriver, a vacuum, and PPE like gloves, safety glasses, and a face mask. An N95 dust respirator is recommended. For our materials, this is everything you'll need to build a single panel. So if you're building more than one, and you most likely are, just multiply these amounts by how many panels you plan to build.
You're going to need... Two 1x4 boards that are 8 feet long. But you're only using half of the second board. You can use this remaining part for additional panels that you're building.
One 1x2 board that's 8 feet long. You're going to use 62 inches of this and will be left with 34 inches. So again, if you're building more than one panel, you can use the excess as needed.
One and a half inch wood screws or construction screws. There will be 32 screws per panel.
Staples for your staple gun. I used about 150 staples per panel.
Four screw eyes for the back of the panel.
Two screw hooks. These are going to screw into the wall for hanging the panel.
Two drywall anchors if your hooks are going into drywall.
Mineral wool insulation. You're going to need one 48 inch by 24 inch sheet. They usually come in packs with about 8 sheets per pack, but at my local hardware store they only had 48 inch by 16 inch available, so I had to cut a second piece to fill the void.
Speaker cloth. This is what we'll use to wrap the panel. You'll need about 2 yards cut from a 60 inch bolt. The front piece will be 59 inches by 36 and a half inches. The rear piece will be 50 inches by 26 inches. Most fabric stores usually carry this, but I recommend getting it from joann.com. It's either always on sale or they have a 50 percent off coupon available, and that is a huge savings on your cost per panel.
Now that we've got our tools and our materials, let's get to work and build this acoustic panel.
Up first, let's measure out the two side pieces. This is an 8 1x4 and we're going to mark it at 48 inches. Be sure to measure from both sides of the board rather than just cutting at your first mark. Although it's an eight foot board, they're not always accurate from the store and you may be left with some excess.
Next, we're going to measure out the top and bottom pieces at 24 inches.
Put on your ear protection and eye protection, and it's time to start cutting.
First, we'll cut the 48 inch side pieces, then the 24 inch top and bottom pieces. We're also cutting our one by two boards into two 24 inch pieces and four, three and a half inch pieces. These are going to be used for additional front supports and corner supports.
Now that the cuts are done, I went ahead and pre drilled a template for pilot holes. That way they can all be consistent around the framing. But you could do this without a template as well.
Let's first drill pilot holes on both ends of the sideboards. Next, we'll use those holes to continue the pilot hole into the top and bottom pieces. We'll then drive screws into our pilot holes to connect our framing using one and a half inch construction screws or wood screws. There are two screws on every corner.
Now that the main boards of the frame are all attached, we can continue with the rest of the framing.
Using the inner holes on your template, drill pilot holes into the top board for the corner supports. These inner holes were marked so that the screws would not come into contact with any of the others. If you're not using a pilot hole template, simply offset the screws. After driving the screws, attach the sideboard to the same corner support and then repeat the process on the other three corners.
Next, measure the panel out into thirds and make marks at 16 inches and 32 inches. This is where we'll place the front supports. These front supports are going to help to keep the insulation from bulging out the front so that you have a nice, smooth, and flat panel. They'll also help to add sturdiness to the panel framing.
Using the same template, drill pilot holes for the screw eyes we'll be using to hang the panels.
Finally, it's time to roll out some speaker cloth and make some measurements.
Because we have 24 inch boards at the top and bottom, and those are in between the sideboards, That puts the total width at 25 1/2 inches.
Since a 1x4 isn't a true 1x4, these panels are actually 3 1/2 inches deep, giving us a total of 7 inches of speaker cloth needed for both sides.
We'll also be adding an additional 2 inches of overlap on each side for folding and stapling.
That brings us to a total of 36 1 2 inches of speaker cloth needed for the width.
For the height, we have 48 inches plus 3 1/2 inches for the top board, 3 1/2 inches for the bottom board, and 2 inches of overlap on each end. That brings us to 59 inches. This roll of speaker cloth is 60 inches wide, so it will work perfectly. In total, our front speaker cloth size should be 59 inches by 36 1/2 inches.
To mark your measurements, use something that will show up on the fabric. I used white chalk. Once the line is marked out, cut the speaker cloth using a fresh razor blade and a straight edge. A dull blade or scissors do not work well for this.
Once you have it cut, we're also going to cut a piece for the back to completely enclose this panel. This piece will fit inside the framing and will not wrap around any sides. But we still have to leave some overlap on each edge for stapling. Cut this at 50 inches by 26 inches.
It's now time to start wrapping the frame. Using your staple gun, start on one of the long sides and work your way out from the center. This will help to keep the speaker cloth straight and even along the first edge.
Repeat this on the opposite side, but stretch the speaker cloth a bit at each staple point. We don't want it to look saggy on the front.
Next, repeat this process for the shorter top and bottom sides. This is where you can really make it taut to ensure you have no wrinkles or sags.
Once you get to the corners, it can be a little tricky to fold them without it looking wrinkly. First, pull it flat towards the center, then fold it upwards towards the inner framing, and finally tuck the underside in to try and eliminate any wrinkles. Be sure to have your staple gun nearby so you're ready once you achieve the perfect fold.
Once the front side of your panel is wrapped, you're ready to put in the insulation. For that, I used Owens Corning Thermofiber Ultrabat Professional Grade Mineral Wool. One of the most popular options is usually Rockwool Safe and Sound, which is another brand of mineral wool, but this was available nearby and it had very similar specs.
Either of these should work for you, just avoid using traditional fiberglass insulation, you know, like the pink stuff. Along with it not being as effective as mineral wool, the glass dust particles can escape into the air. Besides the chance of your room always feeling itchy, you'd also be breathing this in.
Let's start packing these panels. Place your mineral wool inside the empty frame and compress it down so that it's recessed below the edges. Again, I could only get this in a 16 inch width, so I'll have to cut a second piece. If you can get it in 2 foot by 4 foot sheets, you can simply place one piece right inside your panel. Using a tape measure and an old steak knife, I marked the mineral wool along my cut line, cut out the piece I needed, it doesn't have to look pretty, and then I placed it into the panel.
Once you have your mineral wool placed into the panel framing, take the second piece of speaker cloth that you cut for the backside and staple it into place. Continue around the edges in the same pattern that you did for the front. Note that this side doesn't have to be as taut because it won't be visible. We're essentially just sealing everything into place. Once you finish stapling, carefully trim up any excess with a razor blade and then it will be time for cleanup.
Using a vacuum, thoroughly go over every side and edge of your panel to remove any dust and debris. Once you're finished, compress any areas of the speaker cloth where you can see the insulation bulging. Finally, go through and vacuum it one more time.
Using the same template from before, you can easily locate the pre drilled holes for your mounting hardware. For the screw eyes, I used the Everbuilt No. 208 screw eyes. When screwing these in, they started to twist and pull the speaker cloth, so I opted to add an additional staple in each corner to help keep it in place. Once you start to screw in your screw eyes, if they get too tight to turn, simply insert a screwdriver into the screw eye for some extra leverage.
After all four screw eyes have been installed, your panel is ready to hang.
For hanging your acoustic panels on the wall, you'll want to use something like the Everbilt No. 10 screw hooks. I've had a great experience with these for hanging my own acoustic panels. They hold the weight of the panel just fine without using any type of anchor, however I've only ever screwed these into wood paneling for my large acoustic panels.
I do have a smaller 1 foot by 4 foot acoustic panel that I've hung from a drywall ceiling with only these hooks, and so far it's never had an issue. But if you are mounting into any type of drywall, I would recommend using anchors just to be safe.
When it comes time to hang your panel, attach the top two screw eyes onto the screw hooks and it will sit in place. The lower two screw eyes on the bottom of your panel are simply just to keep the panel sitting at an even distance off the wall.
Congratulations, your new Acoustic Panel build is complete.
So that's my complete process for building Acoustic Panels. And again, if you want that free guide that'll walk you through everything step by step, you can download my DIY Acoustic Panel Guide by going to FromZeroToStudio.com/DIY or by clicking the link below in the description and you can start improving your room, improving your recordings, and improving your mixes.
But that's all I've got for you today. Thank you so much for watching and subscribing. I'll see you on another video soon.